How To Deploy on Web Server
1) Configuration
Please review Configuration Settings first for separate environments such as development and production.
2) UI/Frontend Deployment (React App)
To host app on any web server we first need to create a production build
Create the production build of your react app by using command below in your app's directory.
yarn run build
The output of the above command creates a new build folder inside the project which contains production build.
So far we have created a production build of your React app.
Now, next step is to deploy it on web server
Press Windows + R key and write inetmgr to open the IIS Manager. You can see the below screen.
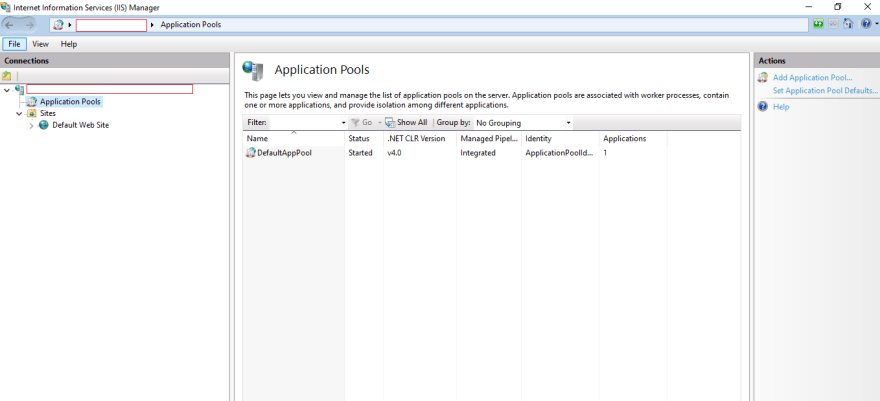
First, we will create a new Application Pool, so right-click on Application Pools and click on Add Application Pool. Then give it name as you want and click on OK button.
After that right-click on the new app pool and select Advanced Settings. You will see below window.
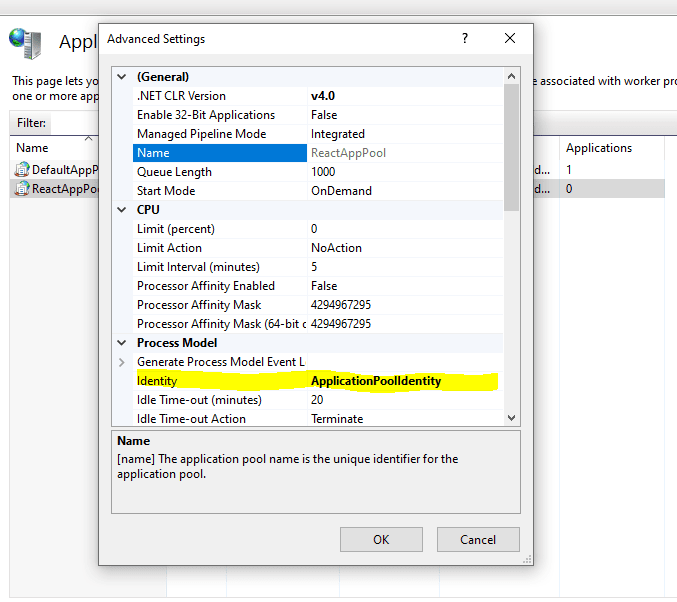
Then click on Identity and choose a Custom account and click on the set button and then add your windows credentials and click on OK.
After that right-click on Sites and then click on Add Website. Add the Site name and select application pool which we created earlier. After that under physical path section, you have to give the path of build folder & also give the port number where you want to host.
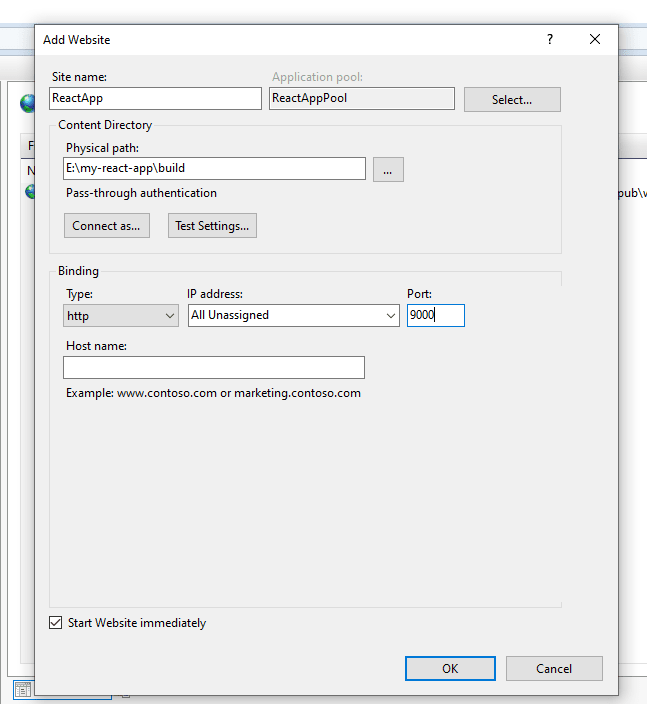
Now right click on new website i.e ReactApp -> Manage Website -> Browse. Your react app is now successfully deployed.
Follow instructions at Frontend App Deployment
3) Backend Deployment (.Net Core)
- IIS
- Nginx
Please follow Microsoft's instructions in official web site.
- Please follow Microsoft's instructions in official web site.